
iOS & Swift The Complete iOS App Development BootCamp
•
55시간 짜리 강의!!
•
최대 15일안에 뽀개기!
Section 1. Getting Start with iOS Development and Swift 5
< 강의 자료들 >

< 넉넉한 용량은 필수 >
Section 2. Xcode Storyboards and Interface Builder
Xcode Storyboard를 활용하여 간단하게 어플리케이션을 디자인해보자.
1. 간단하지만 유용한 단축키 정리
•
cmd shift y : debug box
•
cmd - , cmd + : 글자 크기 축소, 크게
2. I am Rich 앱 만들기!!
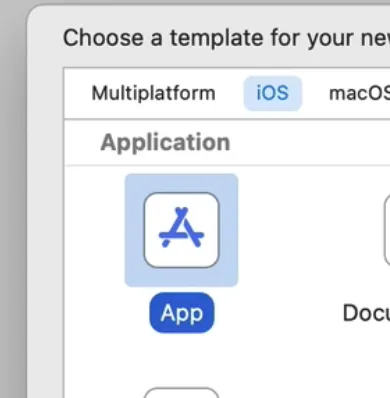
우선 Project를 생성할 때 Swift UI가 아닌 Storyboard를 선택한다.
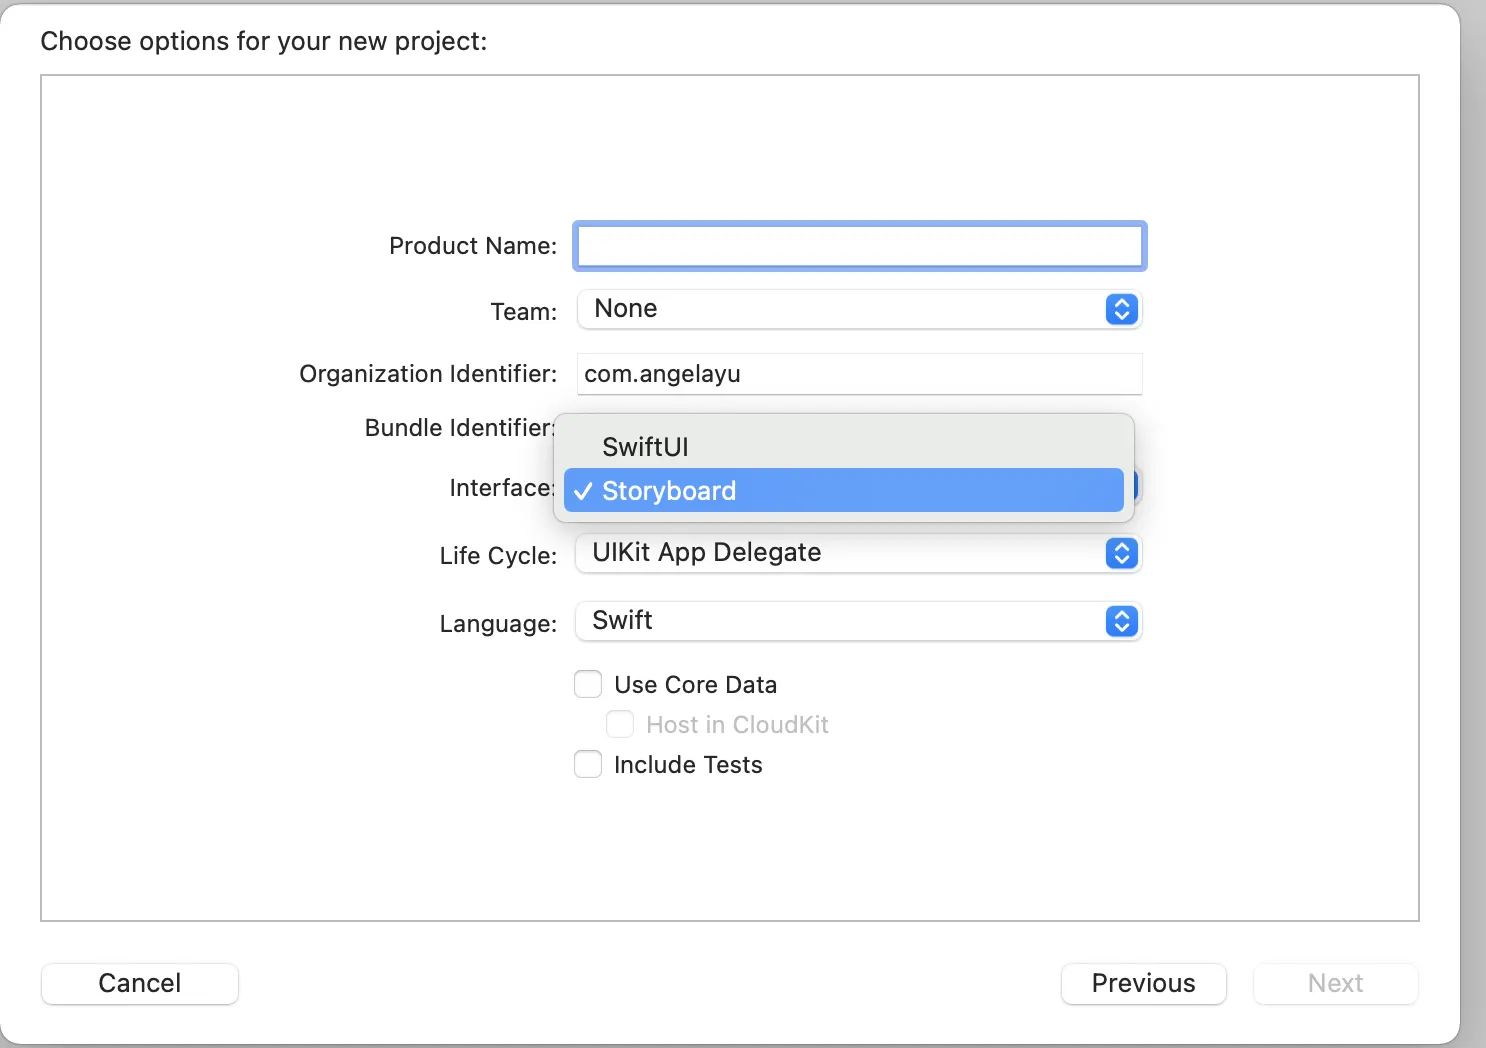
Organization Identifier : identify your app uniquely on the AppStore
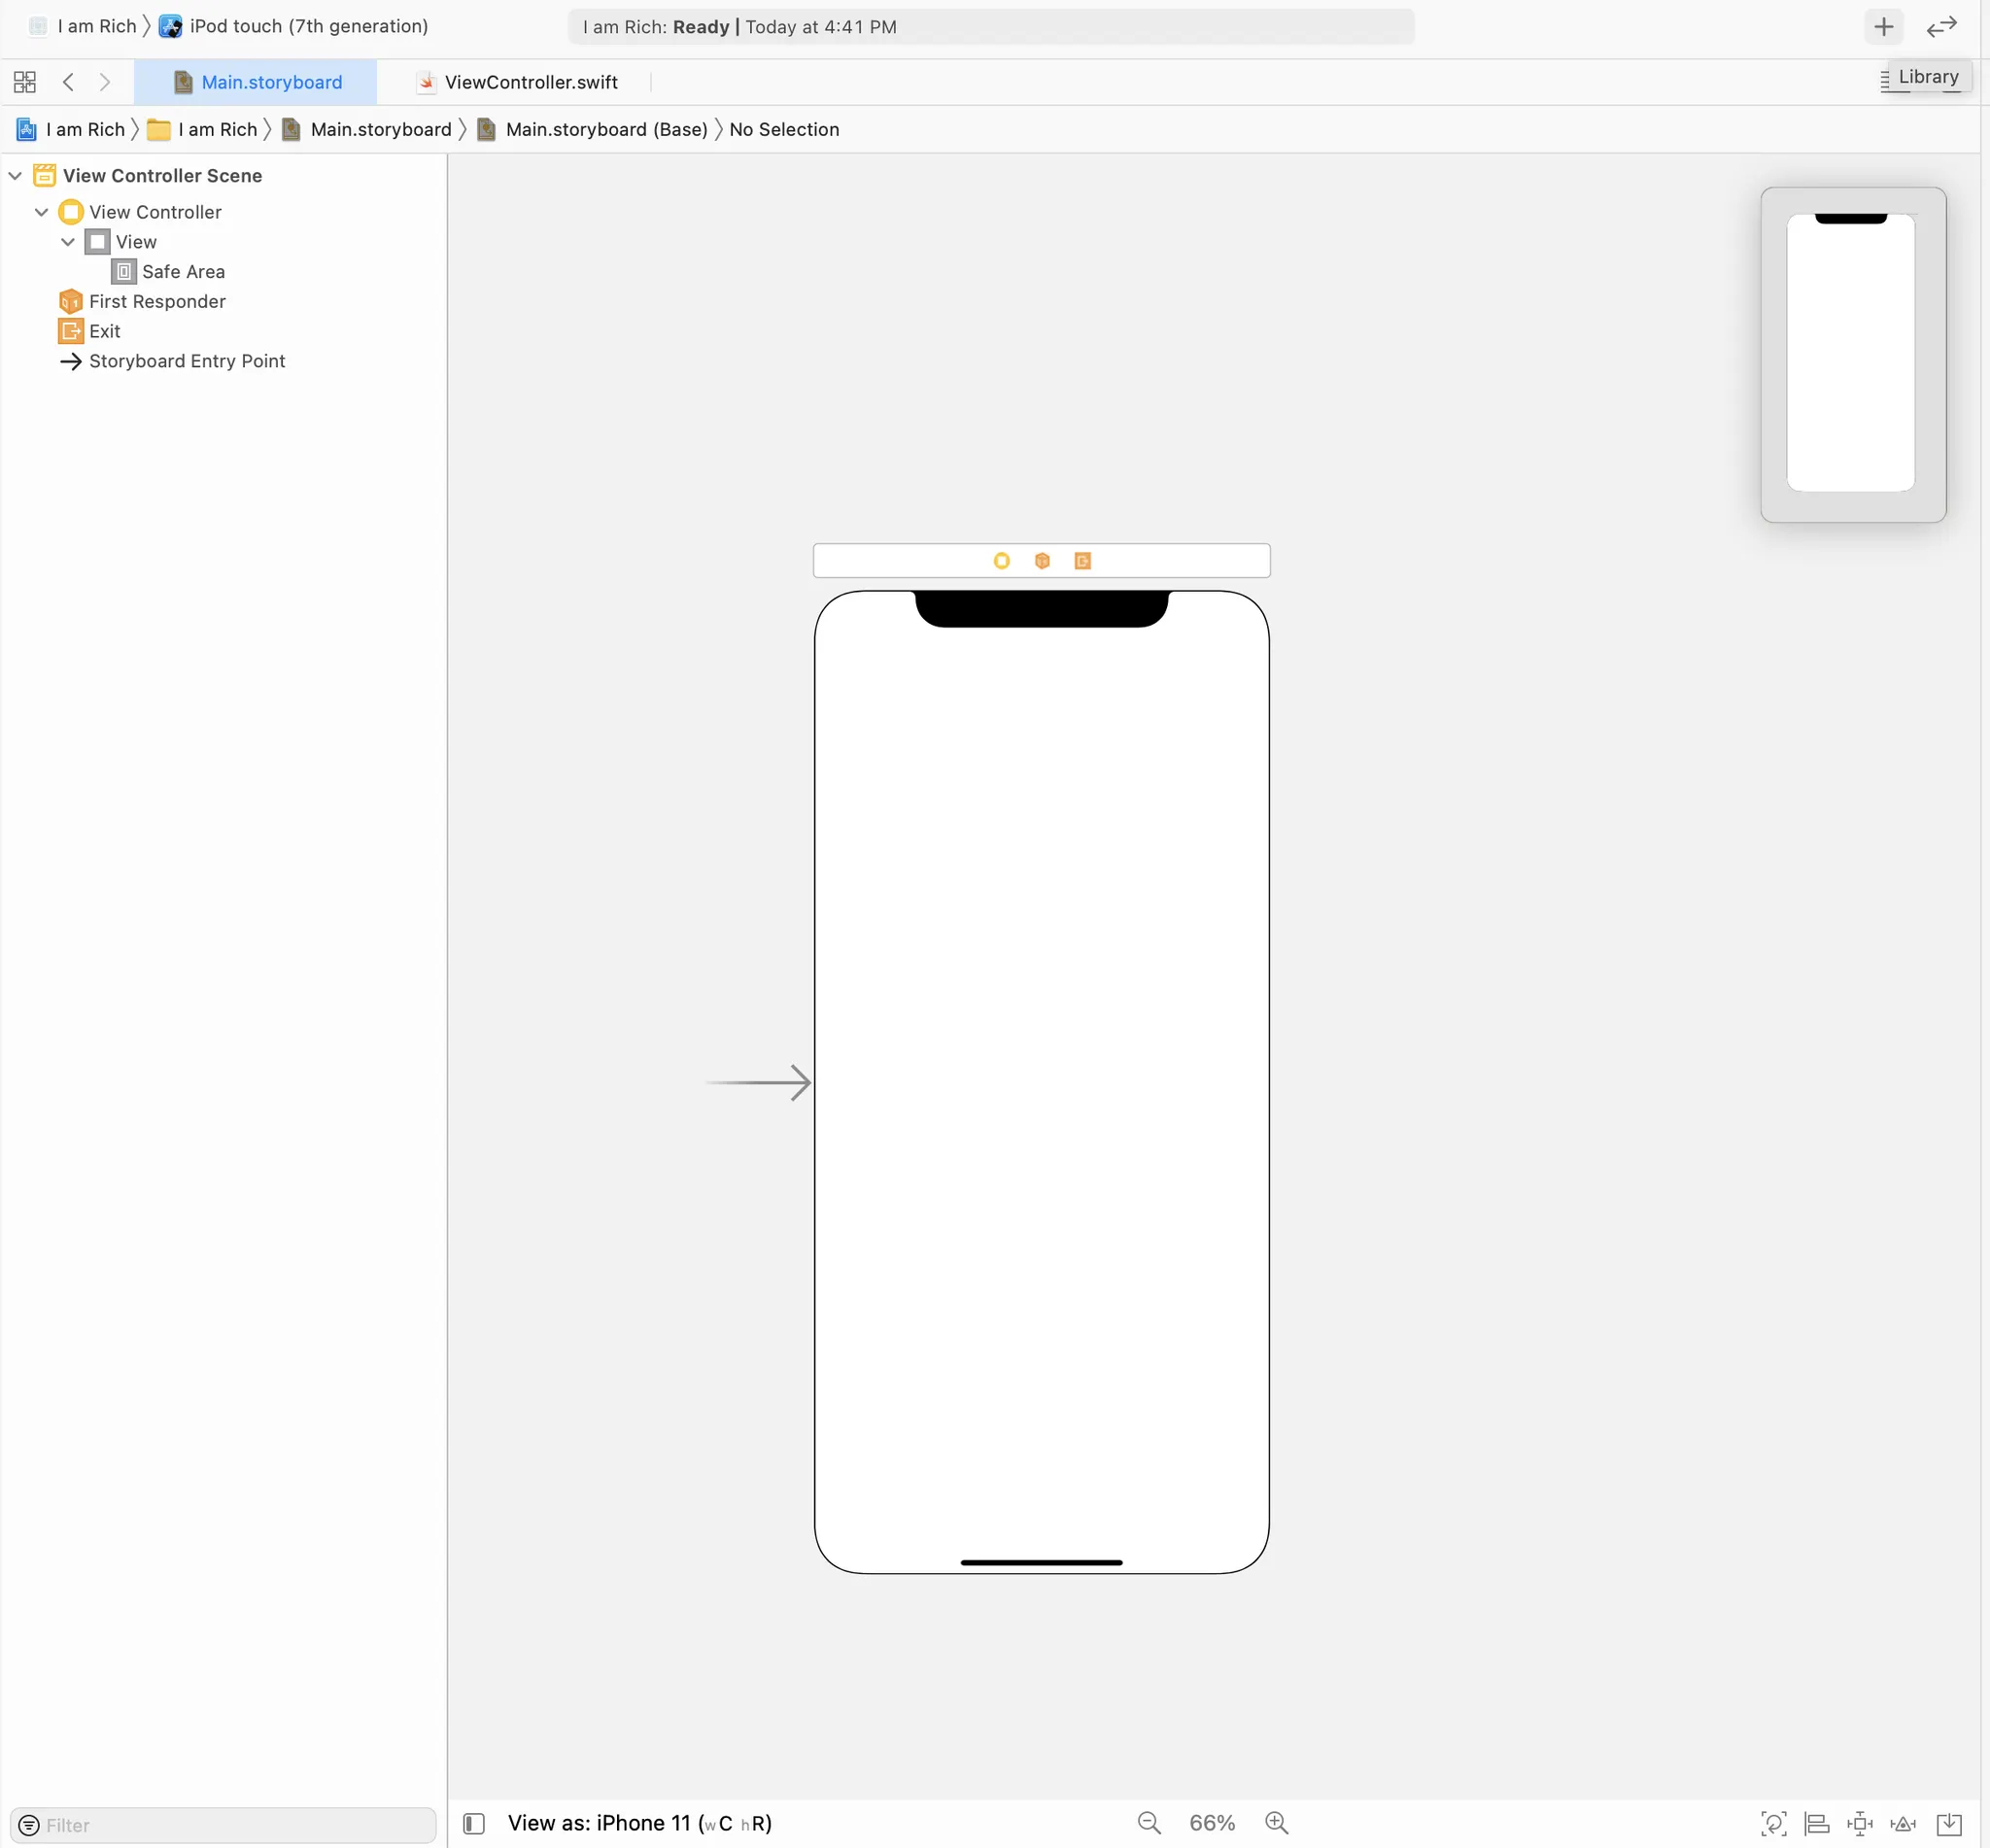
스토리보드를 생성하면 오른쪽과 같은 화면이 생긴다!
왼쪽의 네비게이션바에 Main.storyboard가 생긴 것을 확인할 수 있다.
finder 에서 .xcodeproj 파일로 프로젝트를 열 수 있다.
•
xcode 구경하기
◦
프로젝트 이름 누르면 general tab 에 갈 수 있다.
▪
최소 support 타겟(iOS)을 정할 수 있다.
▪
Device Orientation
▪
Status Bar Style
◦
swift : 코드 파일, storyboard 파일 : design 파일
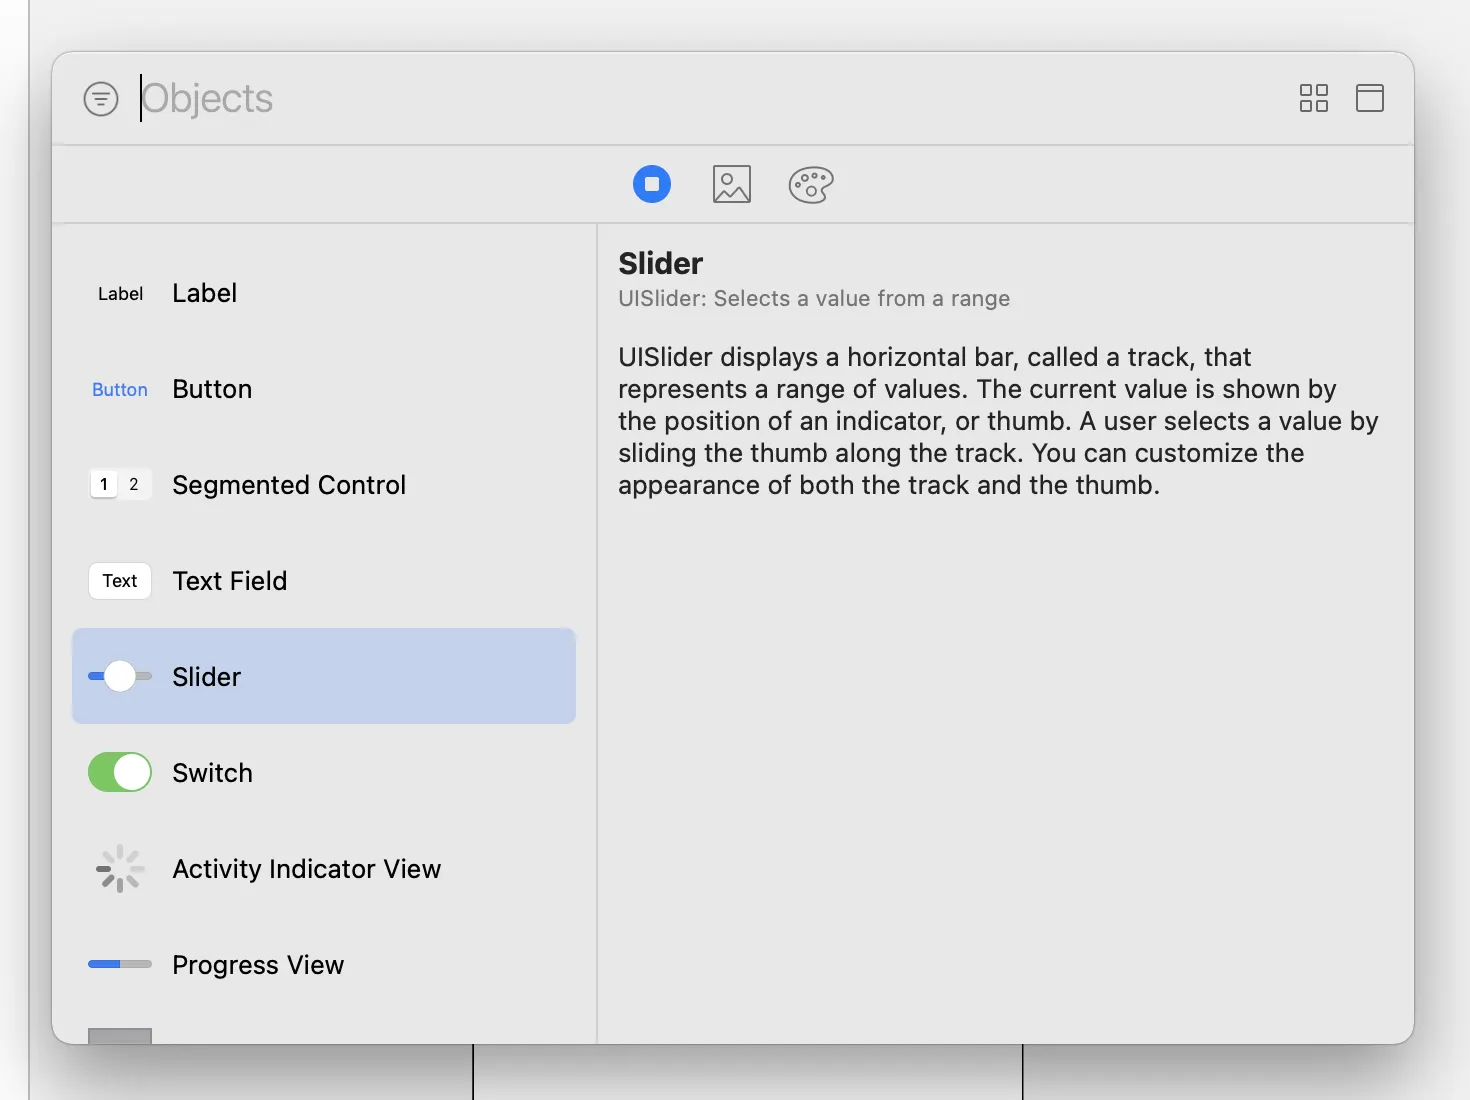
우측패널 위의 +를 누르면 원하는 기능들을 추가할 수 있다.
넣고 싶은 요소를 선택 후 Drag and Drop을 통해 화면 위로 끌어오면 된다.
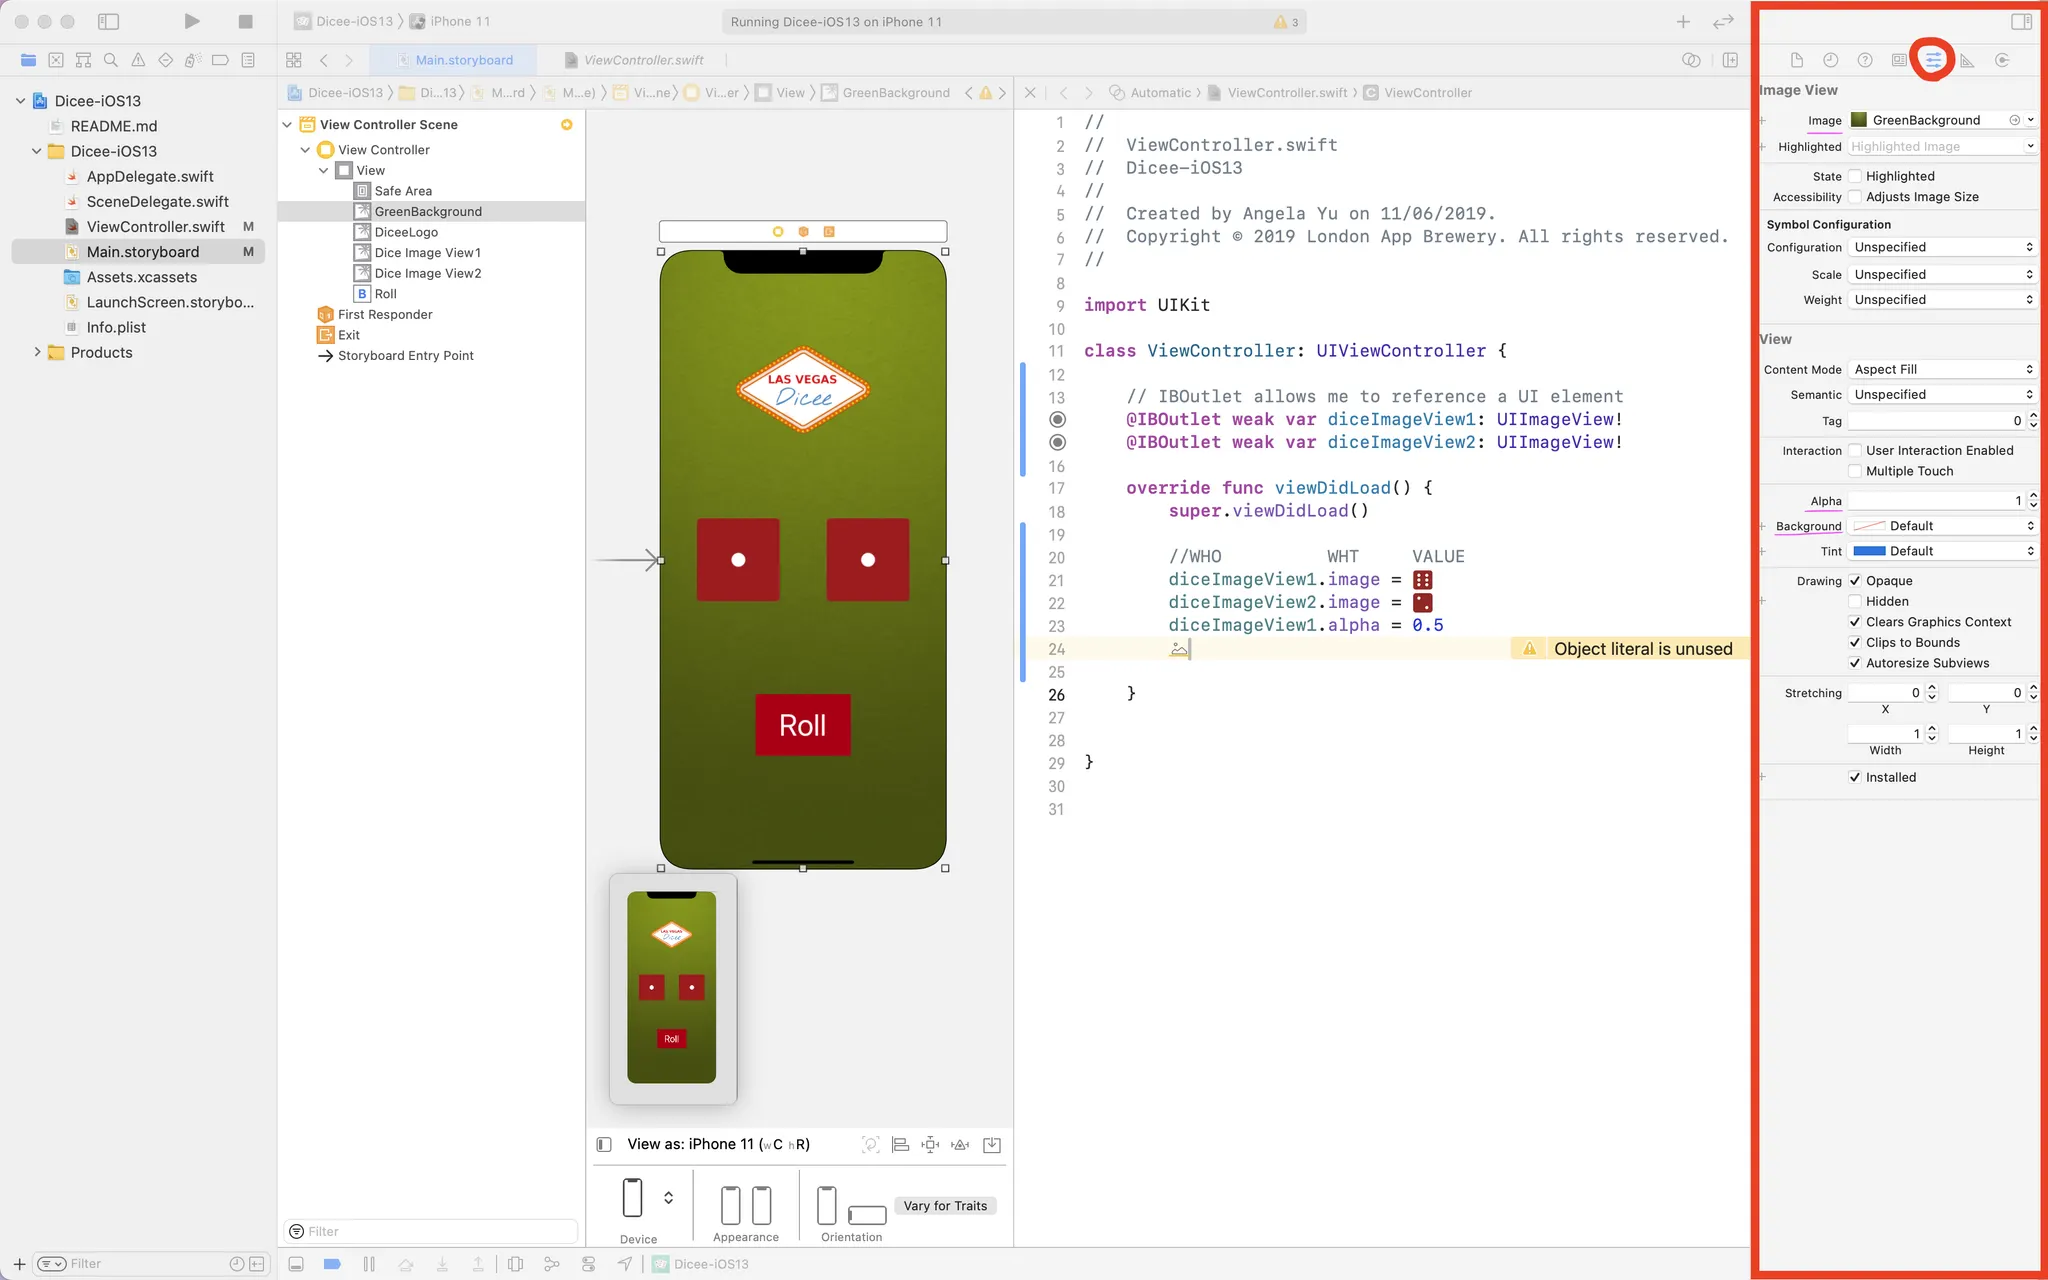
오른쪽 네비게이션에서 아래 아이콘(attribute inspecter)으로 해두면, 선택한 컴포넌트에서 다양한걸 수정할 수 있다.

아래의 아이콘(size inspecter)을 누르면, 크기, 위치를 조정할 수 있다.

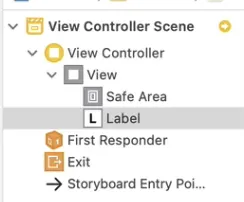
컴포넌트들이 리스트 되는곳 + layer 라고 생각하면 됨
실제 앱에서 보이는 화면 다양하게 골라 확인가능

image/icon을 사이즈별로 편하게 만들어주는 사이트
간단하게 icon 디자인 고화질로 만들어보기
Flowchart
아이폰에서 테스트하기!
•
simulator
•
physical iphone
•
physical iphone with wifi (but 느림)
Section 3. Xcode Storyboard and Interface Builder Challenge
Make the I Am Poor App!
Section 4. Swift programming Basics - Collections, Constants & Variables
Clone an existing Xcode project from Github
우선 이미 만들어져 있는 Xcode project를 클론한다.
$ git clone https://github.com/appbrewery/Dicee-iOS13
Shell
복사
오픈소스 iOS Apps. 다양한 앱들 실행해보자
Design the user interface
우측 패널을 사용해서 간단하게 디자인 할 수 있다.
Changing UI Elements programmatically
dot 함수사용!
[객체이름].image
Swift
복사
코드상에서 Asset의 이미지 접근하기
Image Literal
Swift
복사

오른쪽처럼 이미지가 생기면 더블클릭! 이후 원하는 이미지를 고르면 된다.
Detect user interaction and respond to it
이제 roll 버튼에 기능을 넣어보자
Event에 다양한 기능들은 이후에 알아보자.
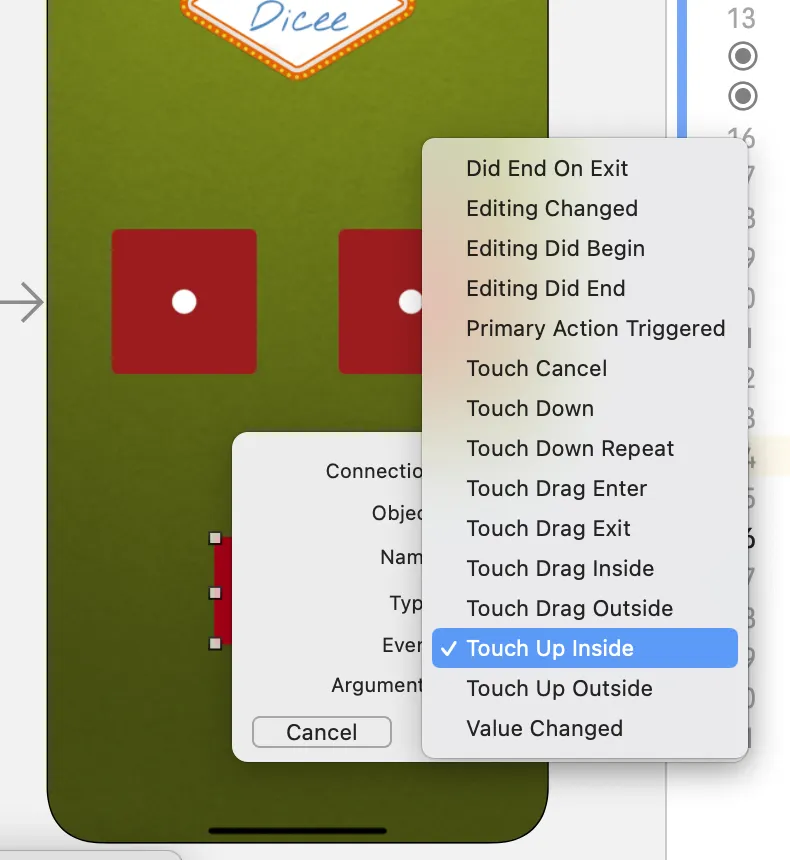
Touch Up Inside는 '버튼 테두리 안에서 touch 동작이 일어났을 때'라는 의미이다.
이제 버튼을 넣고나면 아래와 같은 코드가 생성된다.
@IBAction func rollButtonPressed(_ sender: UIButton) {
// what to do
}
Swift
복사
•
File → New → Playground 에서 Swift 연습 가능!
Learn to use Swift Variables and Arays to store data
→ swift dive

Naming Conventions
- camelCase ← Swift!
- kebab-case
- snake_case
Learn about randomisation in Swift
Int.random(in: 0...5)
Swift
복사
랜덤 주사위 어플 만들기
import UIKit
class ViewController: UIViewController {
// IBOutlet allows me to reference a UI element
@IBOutlet weak var diceImageView1: UIImageView!
@IBOutlet weak var diceImageView2: UIImageView!
// var leftDiceNumber = 1
// var rightDiceNumber = 5
override func viewDidLoad() {
super.viewDidLoad()
//WHO WHT VALUE
diceImageView1.image = #imageLiteral(resourceName: "DiceSix")
diceImageView2.image = #imageLiteral(resourceName: "DiceTwo")
// diceImageView1.alpha = 0.5
}
@IBAction func rollButtonPressed(_ sender: UIButton) {
diceImageView1.image = [ #imageLiteral(resourceName: "DiceOne"), #imageLiteral(resourceName: "DiceTwo"), #imageLiteral(resourceName: "DiceThree"), #imageLiteral(resourceName: "DiceFour"), #imageLiteral(resourceName: "DiceFive"), #imageLiteral(resourceName: "DiceSix") ][Int.random(in: 0...5)]
diceImageView2.image = [ #imageLiteral(resourceName: "DiceOne"), #imageLiteral(resourceName: "DiceTwo"), #imageLiteral(resourceName: "DiceThree"), #imageLiteral(resourceName: "DiceFour"), #imageLiteral(resourceName: "DiceFive"), #imageLiteral(resourceName: "DiceSix") ][Int.random(in: 0...5)]
// leftDiceNumber += 1
// rightDiceNumber -= 1
}
}
Swift
복사
배열의 경우 아래와 같이 사용 가능
diceImageView1.image = diceArray.randomElement()
diceImageView2.image = diceArray[Int.random(in: 0...5)]
Swift
복사
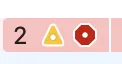
노란색 : warning
빨간색 : error
Section 5. Swift Programming Basics Challenge
랜덤을 활용한 어플리케이션 만들기!
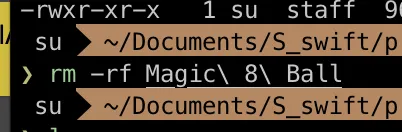
멍청하게 rm -rf로 지워버렸다.. (.git을 지운다는 걸...)
Section 6. Auto Layout and Responsive UIs
Size Classes and orientation
Understand Constraints
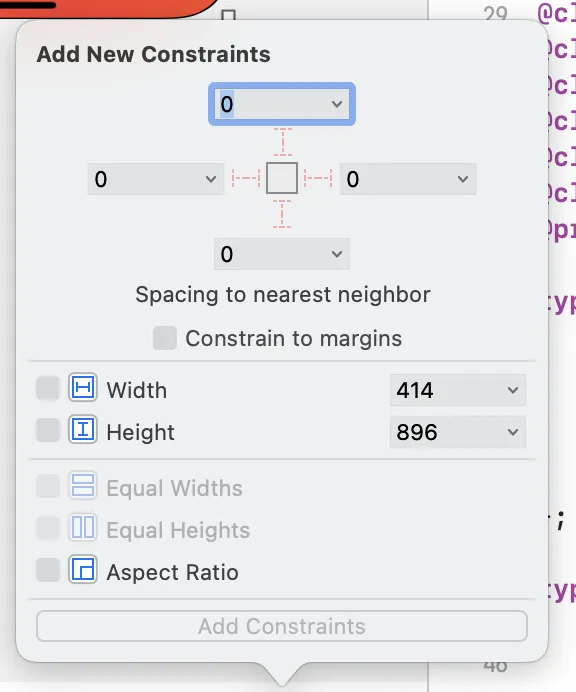
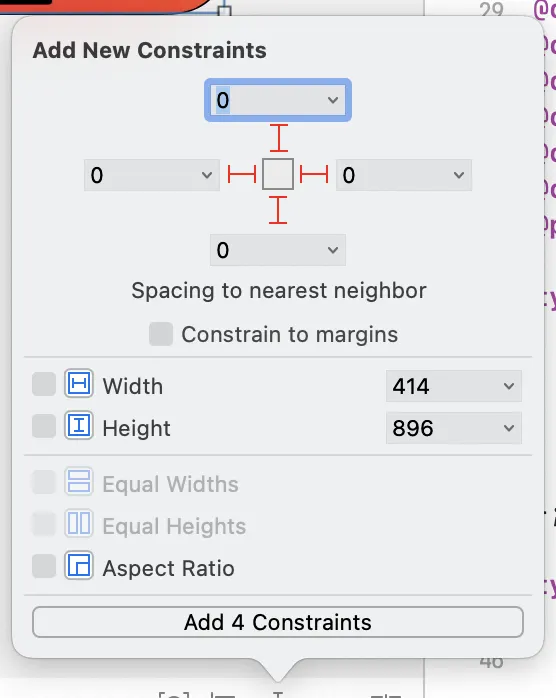
Learn about Alignment and Pinning
Use Containers for more fine grained control
Learn about StackViews
Section 7. Using and Understanding Apple Documentation
setup the Skeleton Project
Figure out how to play sound using Apple Documentation and Stack Overflow
Learn about Swift Functions
함수에 대한 기본 지식들 → 일반적인 프로그래밍 언어랑 동일
Linking multiple elements to one IBAction
Creating functions with inputs
Section 8. Intermediate Swift Programming - Control Flow and Optionals
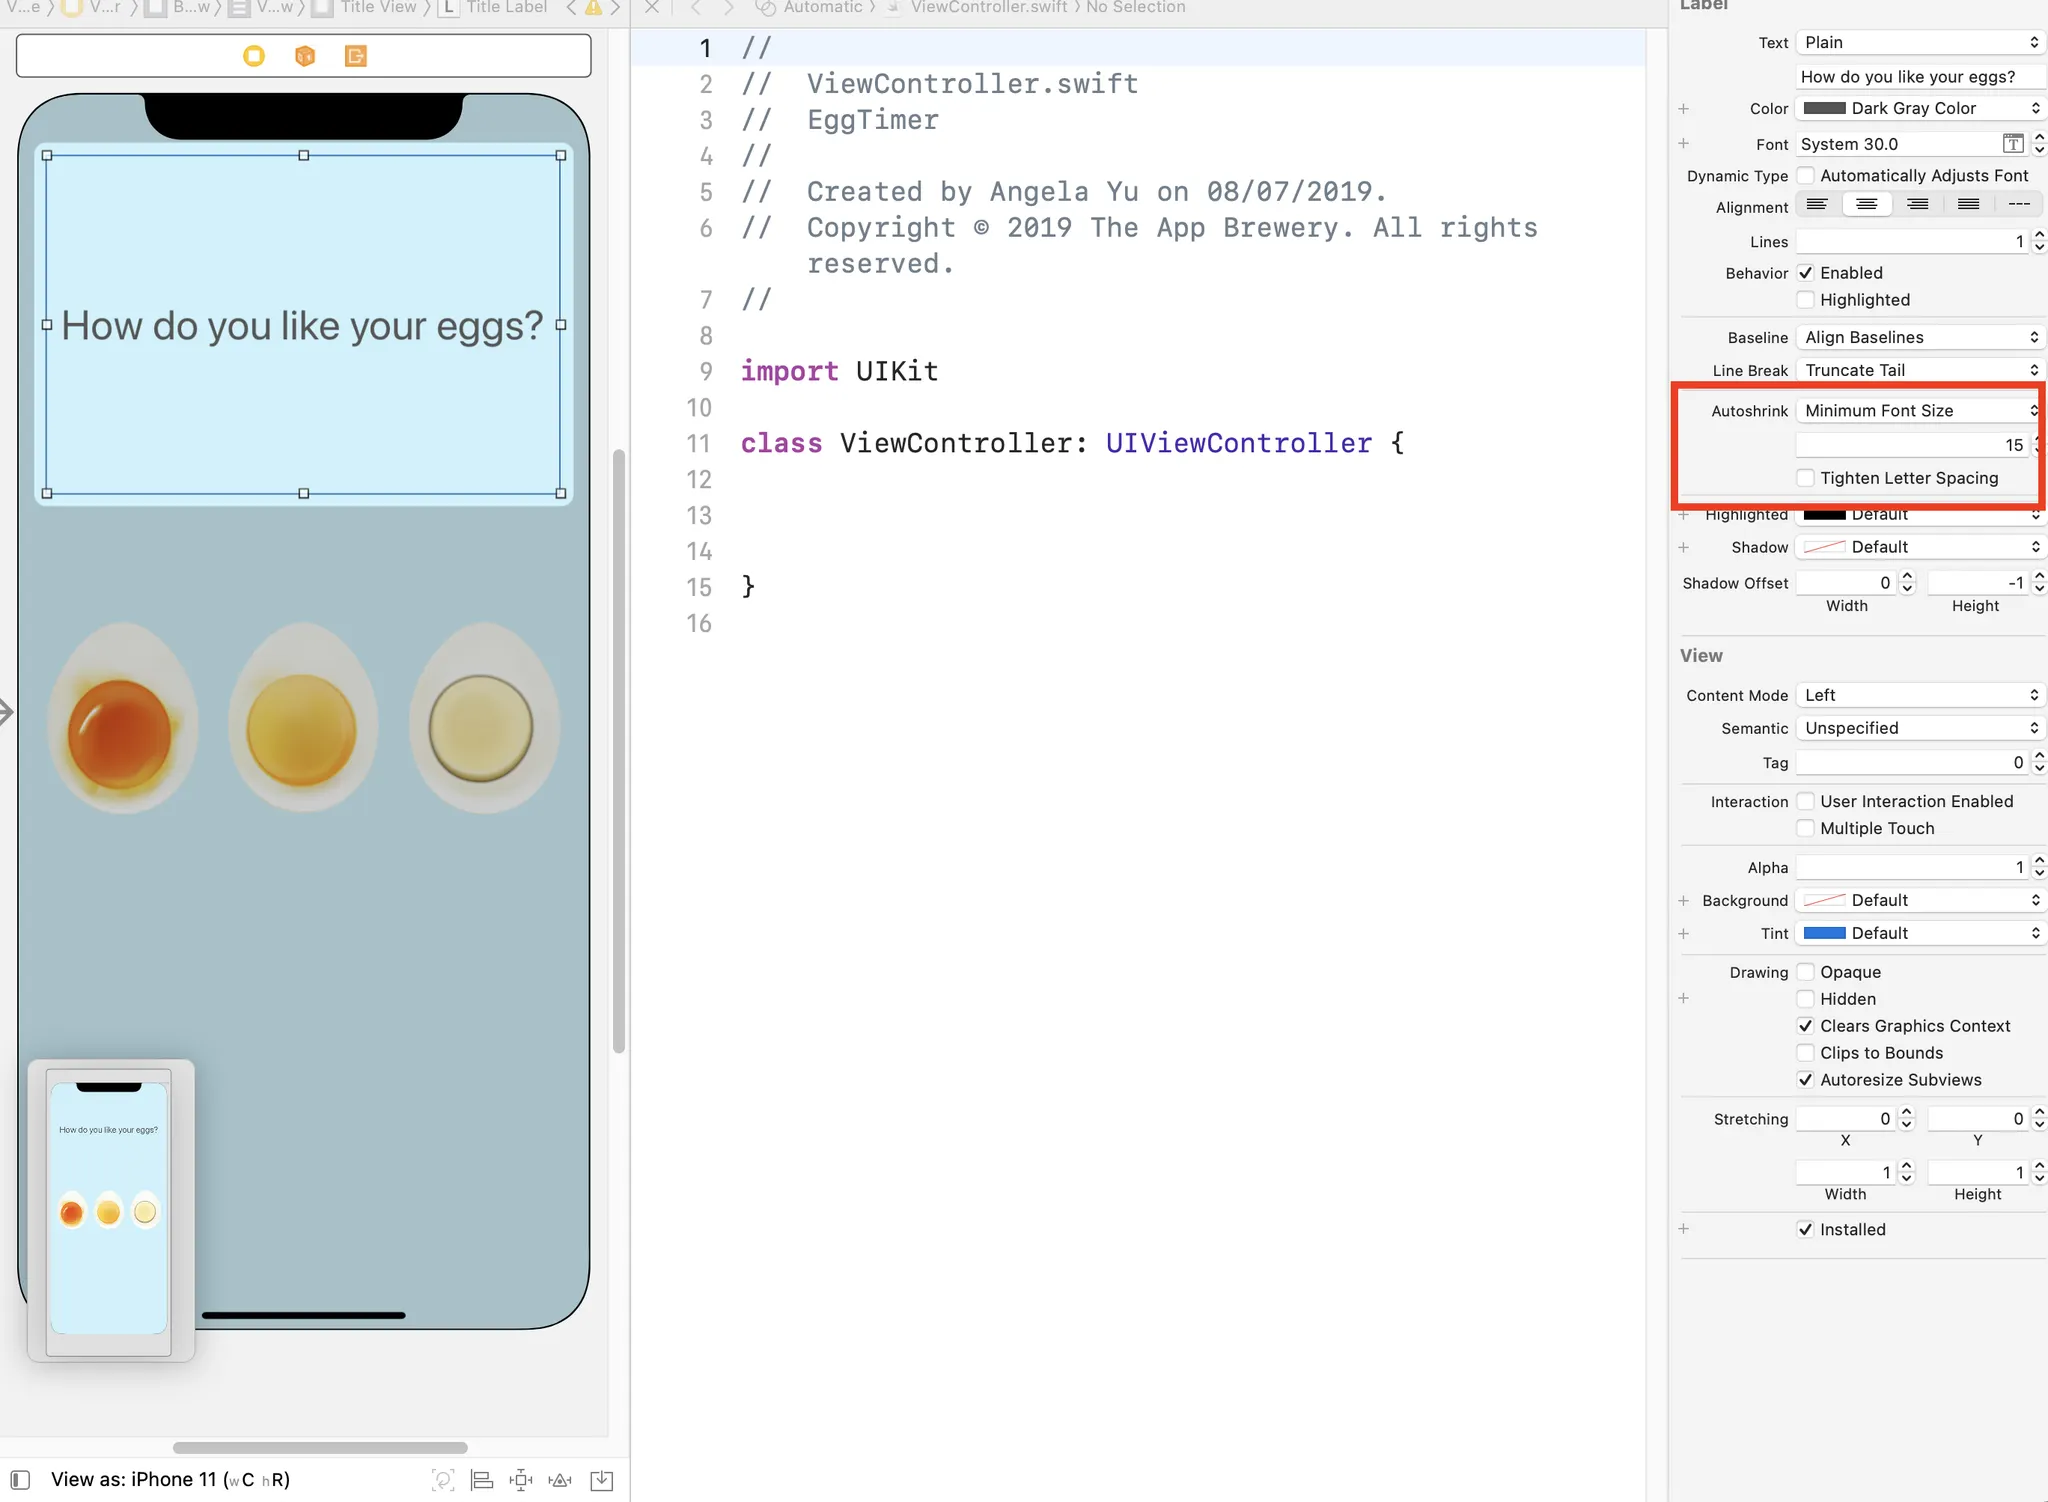
Autoshrink를 통해서 자동으로 View 사이즈에 맞는 Minimum Font Size를 지정해준다!
Float vs Double
Float와 Double, Swift에서는 실수 타입의 자료형을 사용할 때, 둘 중 어떤 것을 사용할까?
Swift Docs에서는 아래와 같은 가이드를 제공한다
Double has a precision of at least 15 decimal digits, whereas the precision of Float can be as little as 6 decimal digits. The appropriate floating-point type to use depends on the nature and range of values you need to work with in your code. In situations where either type would be appropriate, Double is preferred.
우선 Double 자료형은 소수점 이하 15자리의 정밀도를 가지고, Float 자료형은 소수점 이하 6자리의 정밀도를 가진다. 작업할 값의 특성에 따라 적당한 자료형을 선택하여 사용하면 된다.
하지만 두 자료형 모두 사용가능한 상황에서는 Double자료형을 선호한다고 되어있다.
Progress View와 같이 Float형 자료형 사용이 Fix된 경우가 아니라면, 일반적인 변수에서는 Double 자료형을 쓰는 것이 좋아보인다.
Section 9. iOS App Design Patterns and Code Structuring
Show quiz questions
let quiz = [
"Four + Two is equal to Six.",
"Five - Three is equal to Six.",
"Three + Eight is equal to Eleven."
]
var questionNumber = 0
override func viewDidLoad() {
super.viewDidLoad()
updateUI()
}
@IBAction func answerButtonPressed(_ sender: UIButton) {
questionNumber += 1
updateUI()
}
func updateUI() {
questionLabel.text = quiz[questionNumber]
}
Swift
복사
Check the answers
2차원 배열을 활용하자
var arr = [["text", bool],["text", bool],["text", bool]]
Swift
복사
Learn about Swift Structures
→ in Swift Deep Dive
Learn about design patterns and use the Model View Controller pattern
What is Design Pattern?
A proven solution to a common problem
The MVC Pattern
Model-View-Controller
•
Model
→ Data & Login
•
View
→ User Interface
•
Controller
→ Mediator
View 와 Model은 절대 직접적으로 통신하지 않는다. 항상 Controller를 거쳐서!!
Learn about Swift Functions that can have outputs
Understand immutability
Section 10. iOS App Design Pattern Challenge
MVC Pattern App Challenge
Section 11. Advanced Swift Programming - Classes, Ingeritance & Advanced Optionals
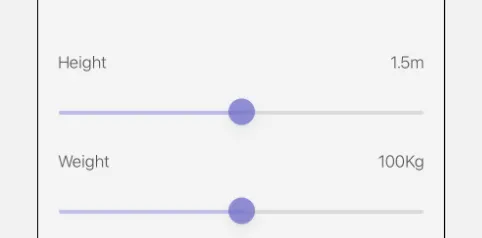
Learn to use UISliders.
@IBAction func hegithSlider(_ sender: UISlider) {
print(String(format: "%.2f", sender.value))
heightLabel.text = String(format: "%.2f", sender.value) + "m"
}
@IBAction func weightSlider(_ sender: UISlider) {
print(Int(sender.value))
weightLabel.text = String(format: "%.0f", sender.value) + "Kg"
}
C
복사