
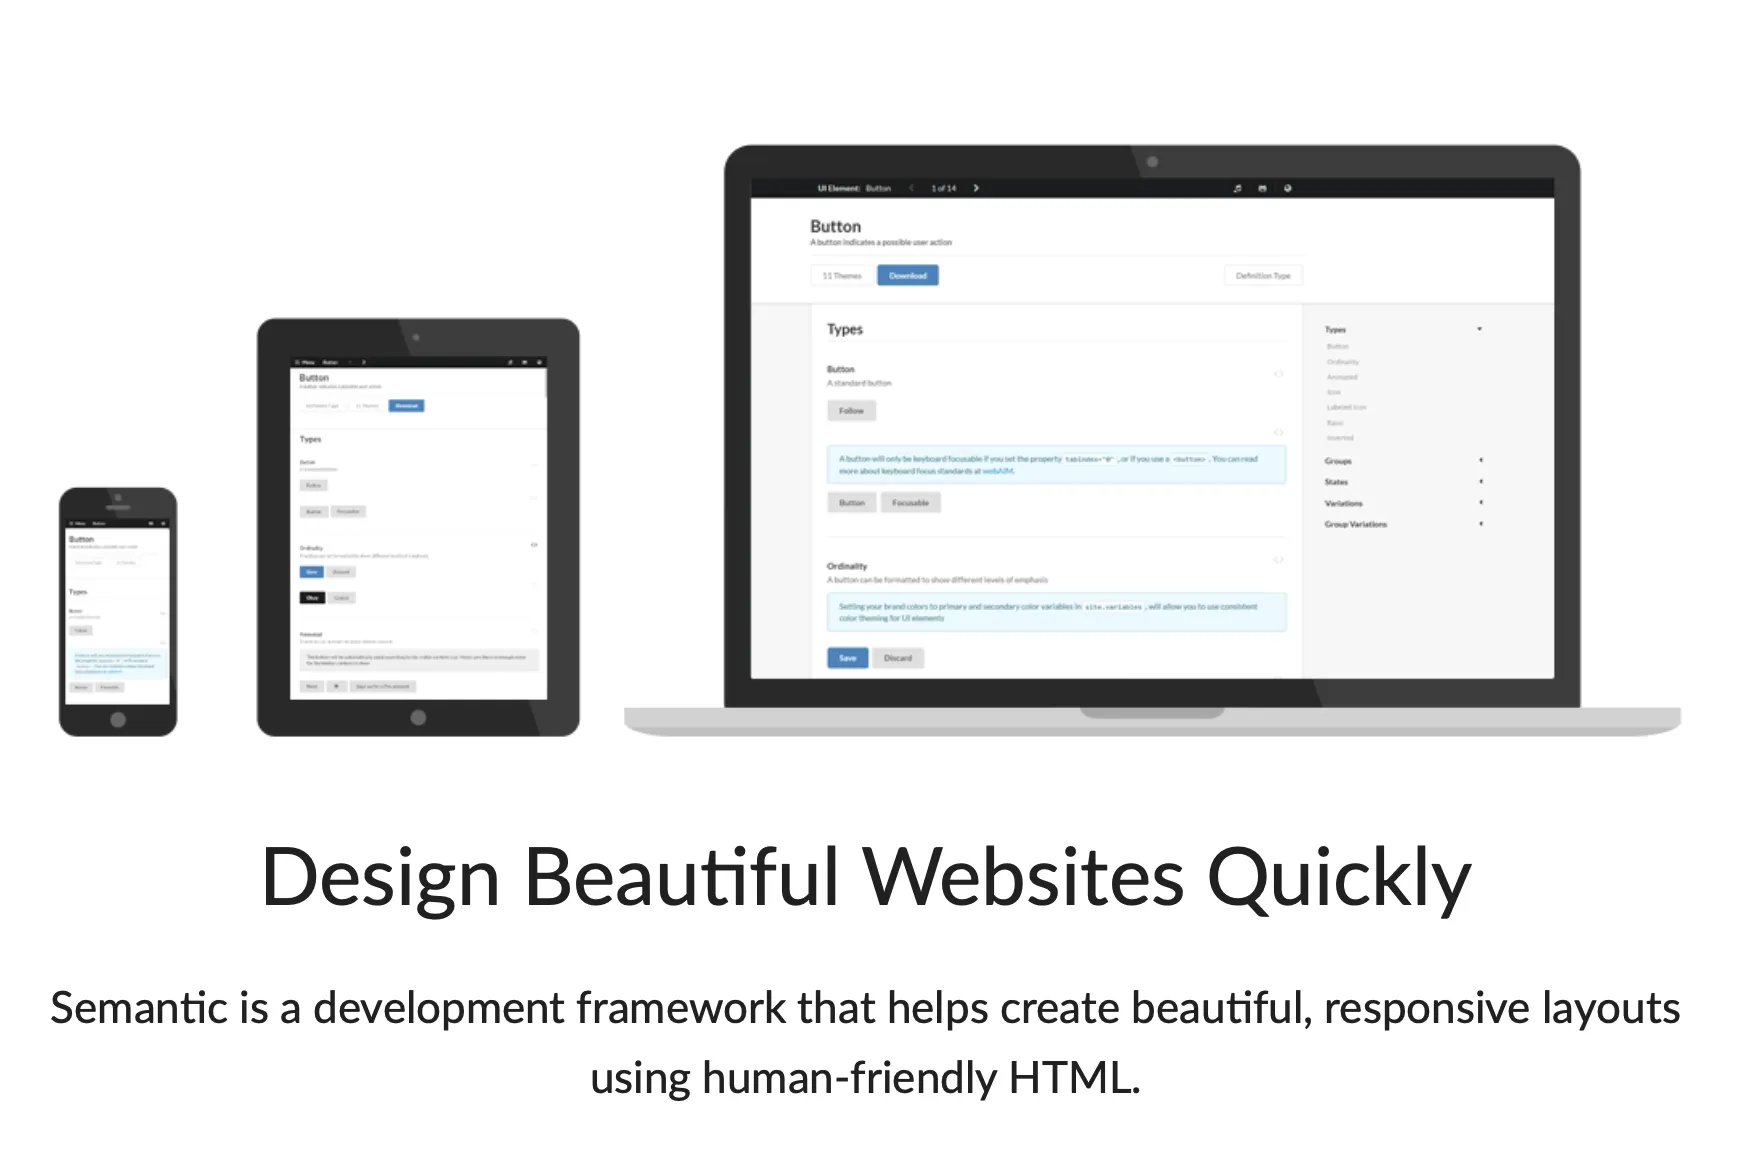
프로토타입을 빠르게 만들다보면, 디자인, 애니메이션과 같은 부분에 신경쓸 시간이 많지 않다. 이럴 때 다양한 템플릿으로 개발을 빠르고 간편하게 진행할 수 있도록 도와주는 것이 바로 Semantic UI이다. 다른 서비스들도 많지만 이번에는 React에서 Semantic UI를 적용하는 것을 알아보자.

1. Semantic UI 설치하기
아래 명령어를 사용해 semantic-ui-react와 semantic-ui-css를 프로젝트에 설치한다.
npm install semantic-ui-react semantic-ui-css
Shell
복사
2. semantic css파일 프로젝트에 import하기
create-react-app으로 프로젝트를 만들었다면, index.js파일에 semantic css 파일을 전역으로 import 해준다. 이 과정을 진행하지 않으면, 컴포넌트들이 예쁘게 나오지 않는다...!
(혹시 vite와 같이 다른 방식으로 프로젝트를 만들 때에도 동작하는지 아시는 분이 있다면 추가 부탁드립니당 )
)
)import 'semantic-ui-css/semantic.min.css'
Shell
복사
3. 원하는 템플릿 사용하기
만약 리스트를 넣고싶다면, 목록에서 리스트를 고른 후, 마음에 드는 형태의 리스트를 고른다. 이후 Try it 버튼을 눌러 코드 샘플을 보자!
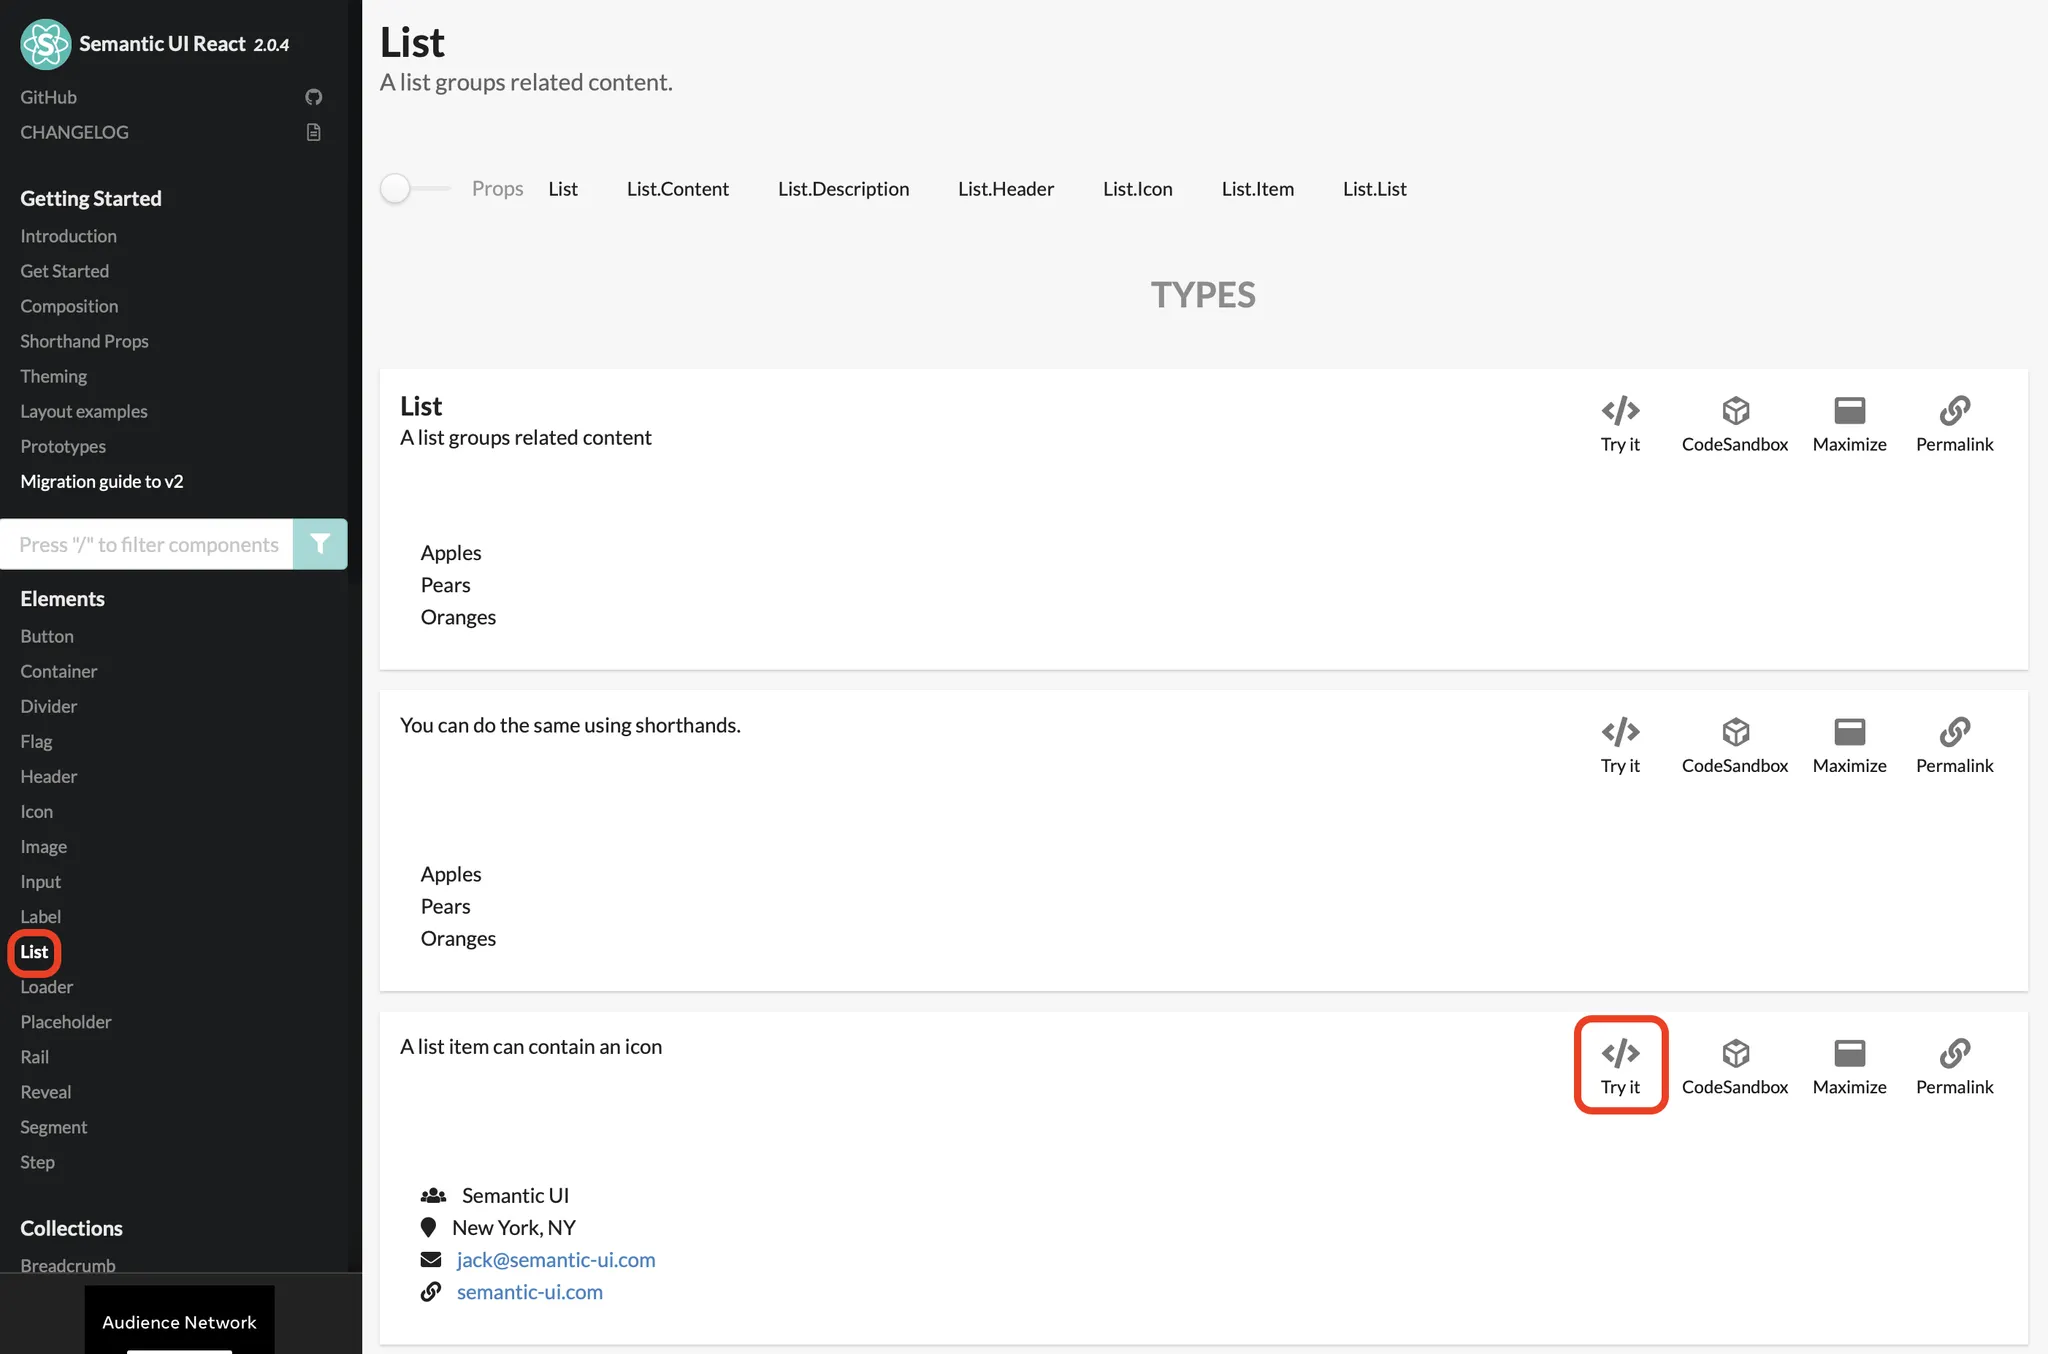
샌드박스를 통해 테스트를 진행해도 되지만, 이미 프로젝트를 만들었으니 프로젝트에 직접 적용해서 살펴보자!
import React from 'react'
import { List } from 'semantic-ui-react'
const ListExampleIcon = () => (
<List>
<List.Item>
<List.Icon name='users' />
<List.Content>Semantic UI</List.Content>
</List.Item>
<List.Item>
<List.Icon name='marker' />
<List.Content>New York, NY</List.Content>
</List.Item>
<List.Item>
<List.Icon name='mail' />
<List.Content>
<a href='mailto:jack@semantic-ui.com'>jack@semantic-ui.com</a>
</List.Content>
</List.Item>
<List.Item>
<List.Icon name='linkify' />
<List.Content>
<a href='http://www.semantic-ui.com'>semantic-ui.com</a>
</List.Content>
</List.Item>
</List>
)
export default ListExampleIcon
Shell
복사
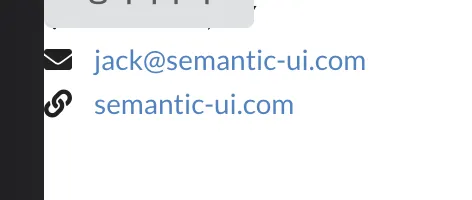
아래 사진과 같이 간편하게 들어간 것을 확인할 수 있다!