

Apple Developer
Capability
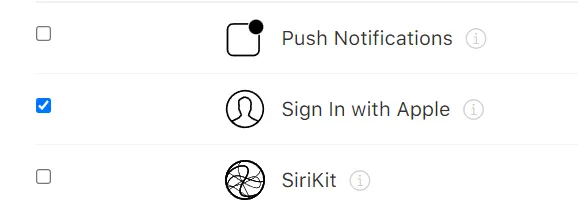
Capabilities 목록 중, Sign In with Apple 선택
Plugin
더 이상 지원을 해주지 않는다 
License
해당 오픈소스는 MIT License를 따라야 하기 때문에 아래 내용을 앱 내에 표시해주어야 한다.
→ ex) 카카오톡 설정>고객센터>오픈소스 라이선스
이름 - 사이트 주소 - 저작권자 - 라이선스를 명시하고 MIT License의 전문 또한 포함해야 한다.
apple-signin-unity
https://github.com/lupidan/apple-signin-unity
Copyright 2019. Daniel Lupiañez Casares all rights reserved.
MIT License
MIT License
Copyright (c) 2019 Daniel Lupiañez Casares
Permission is hereby granted, free of charge, to any person obtaining a copy of this software and associated documentation files (the "Software"), to deal in the Software without restriction, including without limitation the rights to use, copy, modify, merge, publish, distribute, sublicense, and/or sell copies of the Software, and to permit persons to whom the Software is furnished to do so, subject to the following conditions:
The above copyright notice and this permission notice shall be included in all copies or substantial portions of the Software.
THE SOFTWARE IS PROVIDED "AS IS", WITHOUT WARRANTY OF ANY KIND, EXPRESS OR IMPLIED, INCLUDING BUT NOT LIMITED TO THE WARRANTIES OF MERCHANTABILITY, FITNESS FOR A PARTICULAR PURPOSE AND NONINFRINGEMENT. IN NO EVENT SHALL THE AUTHORS OR COPYRIGHT HOLDERS BE LIABLE FOR ANY CLAIM, DAMAGES OR OTHER LIABILITY, WHETHER IN AN ACTION OF CONTRACT, TORT OR OTHERWISE, ARISING FROM, OUT OF OR IN CONNECTION WITH THE SOFTWARE OR THE USE OR OTHER DEALINGS IN THE SOFTWARE.
Bash
복사
@sumoon님께서 알려주신 사이트

과정
1.
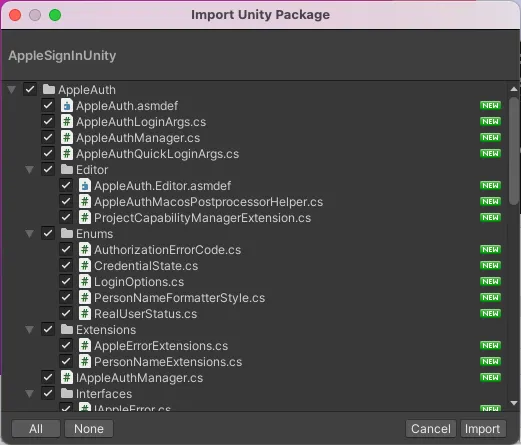
unitypacakage를 다운로드해서 Unity 프로젝트에 import
2.
github Wiki를 참조해서 코드 작성
using AppleAuth;
using AppleAuth.Native;
using AppleAuth.Enums;
using AppleAuth.Interfaces;
using System.Text;
private AppleAuthManager appleAuthManager;
void Start()
{
var deserializer = new PayloadDeserializer();
appleAuthManager = new AppleAuthManager(deserializer);
}
void Update()
{
if(appleAuthManager != null)
appleAuthManager.Update();
}
public void SigninWithApple()
{
var loginArgs = new AppleAuthLoginArgs(AppleAuth.Enums.LoginOptions.IncludeEmail | AppleAuth.Enums.LoginOptions.IncludeFullName);
appleAuthManager.LoginWithAppleId(
loginArgs,
credential =>
{
var appleIdCredential = credential as IAppleIDCredential;
if (appleIdCredential != null)
{
var userId = appleIdCredential.User;
var email = appleIdCredential.Email;
var fullName = appleIdCredential.FullName;
var identityToken = Encoding.UTF8.GetString(appleIdCredential.IdentityToken);
var authorizationCode = Encoding.UTF8.GetString(appleIdCredential.AuthorizationCode);
// 로그인처리
}
},
error =>
{
Debug.log("Apple Signin Error");
});
}
C#
복사
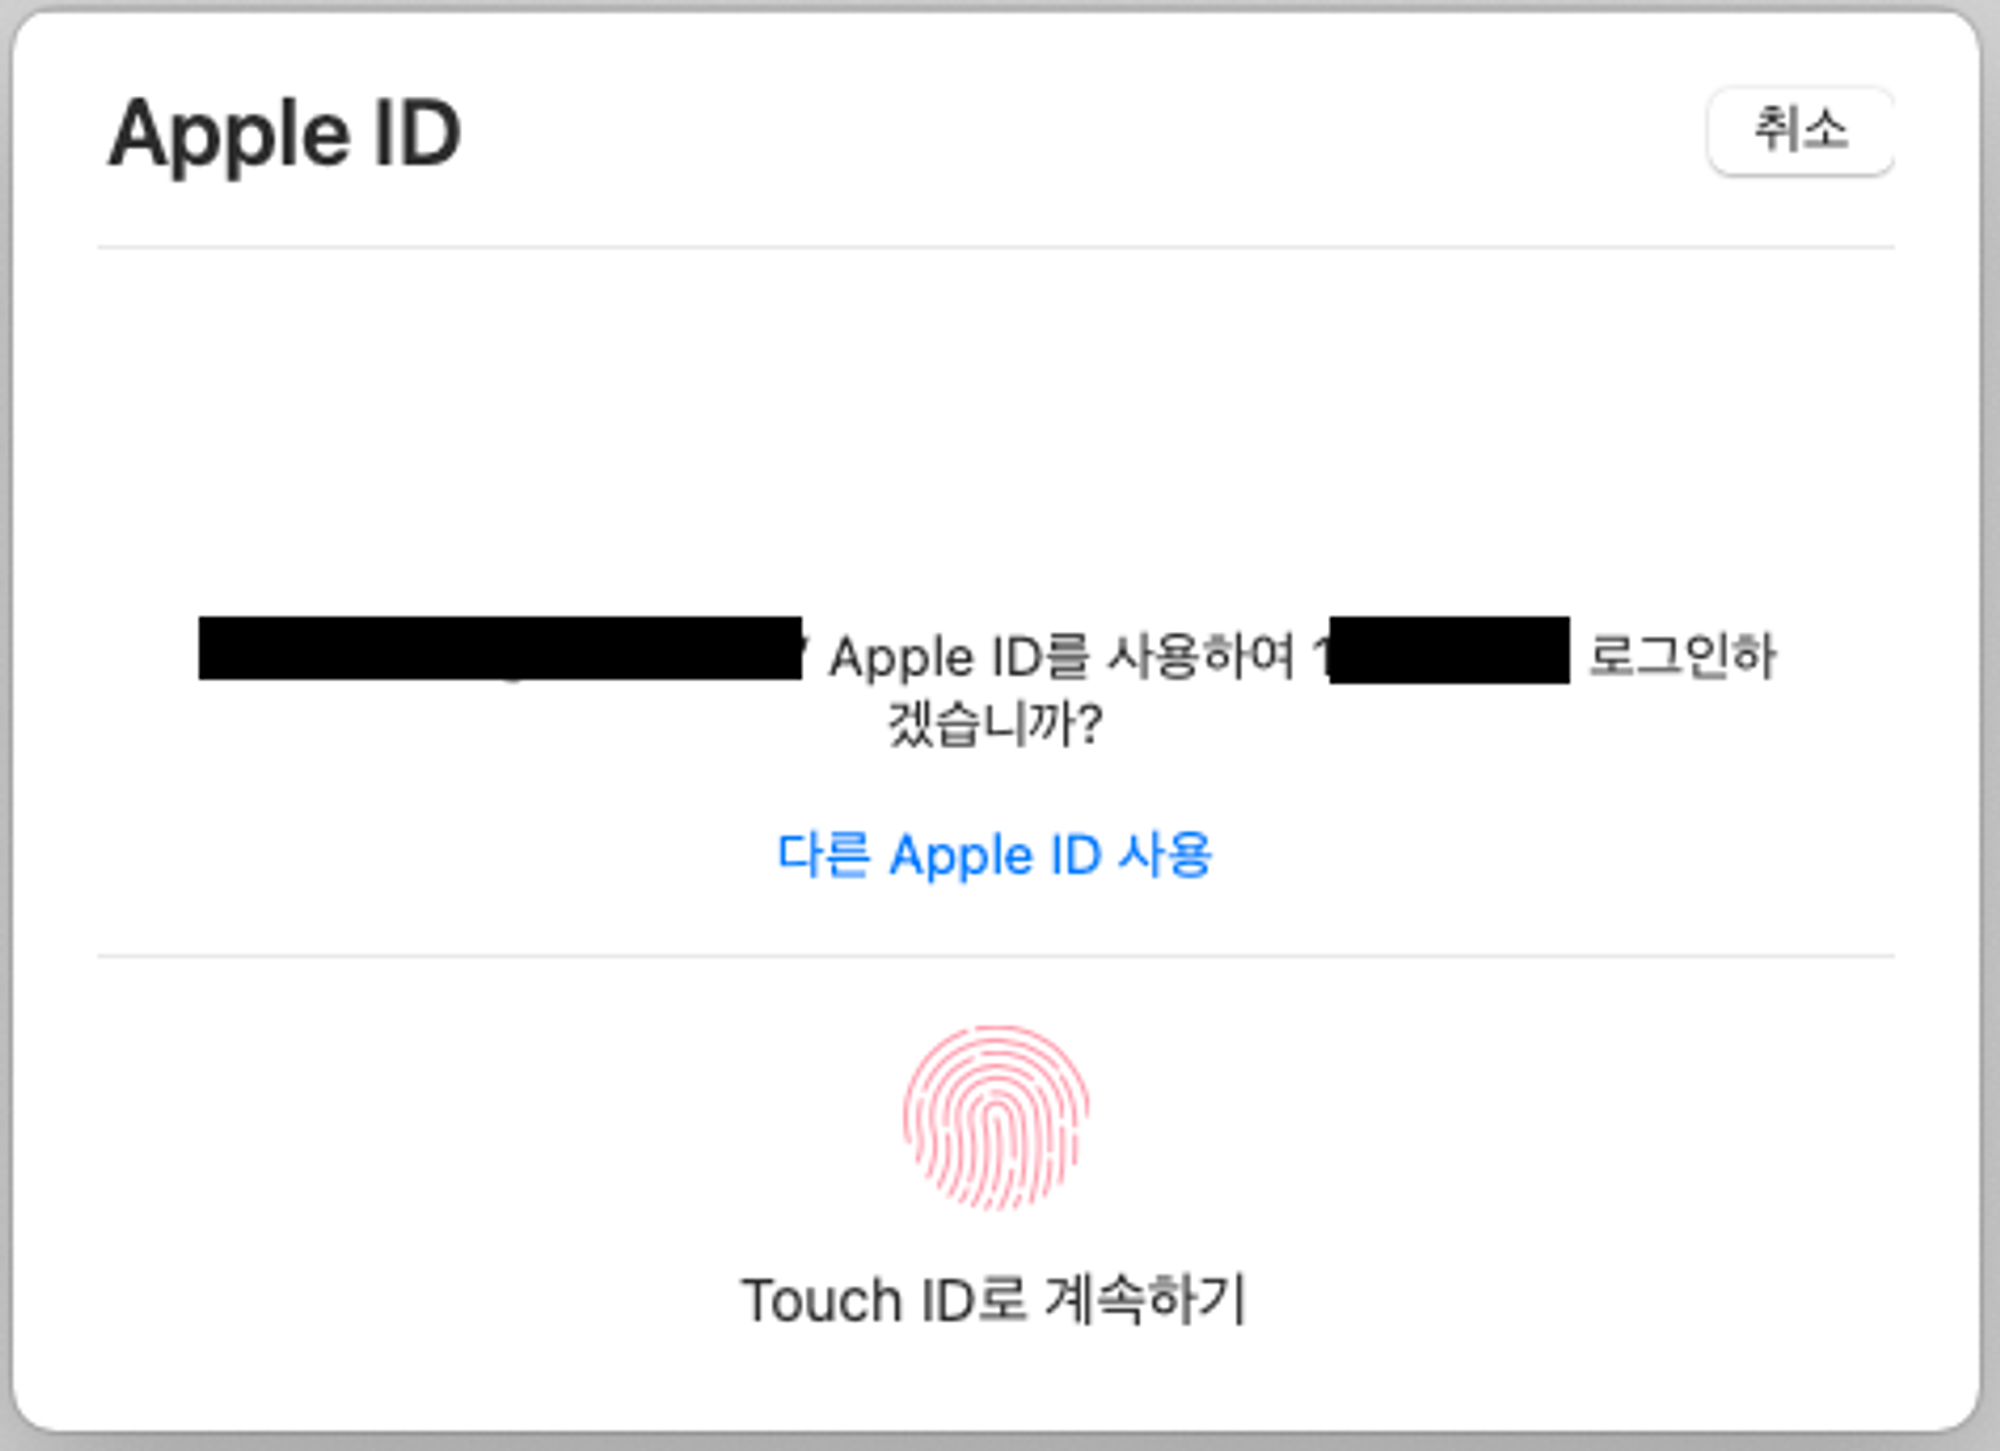
3.
실행하면 touch id를 입력 받는 창이 나타난다
appleIdCredential
appleIdCredential의 멤버변수가 갖고있는 값들 중, 3가지가 중요하게 사용된다.
•
User: UID
•
IdentityToken: 애플에 로그인 요청 시, 보내지는 문자열. JWT 형식
로그인을 할 때, firebase같은 걸 이용한다면 identityToken을 넘겨서 로그인을 할 수 있다.
•
AuthorizationCode
JWT란?

QuickLogin
appleAuthManager.LoginWithAppleId 가 아닌 appleAuthManager.QuickLogin 함수도 있는데
함수 이름만 보면 더 간편하고 빠르게 로그인할 수 있는 방법처럼 보이지만 아니다
과정이나 내용은 비슷하고 똑같이 touch id 입력을 받아야만 한다.
var loginArgs = new AppleAuthLoginArgs(AppleAuth.Enums.LoginOptions.IncludeEmail | AppleAuth.Enums.LoginOptions.IncludeFullName);
C#
복사
달라지는 점은 위 옵션을 지정할 수 있느냐 없느냐의 차이.
애플 로그인을 할 때, 이메일과 이름을 가져올 것인지 정하는 옵션인데 첫 로그인 때만 가져올 수 있다.
var loginArgs = new AppleAuthLoginArgs(LoginOptions.None);
C#
복사
위 처럼 설정하면 appleAuthManager.QuickLogin 와 같아진다
자동 로그인을 구현하고 싶다면?
참고한 사이트